Why hello my friends! It is absolutely fantastic that you decided to stop by and read this post because I’m SUPER excited about it!
My brother and I got my dad a maple tree tapping kit as an early birthday present and we just finished our first batch of syrup tonight!
We surprisingly have 6 maple trees in our small front yard and although we could tap all 6 of them, we decided to start off by just tapping one to make sure we could handle it. So far it hasn’t been much maintenance at all, and I figured I’d let you know what we’ve learned so far.
What type of maple trees can you tap?
This question, I found, was quite debated on the internet.
Any maple tree that you tap will give you maple syrup, it just might not be as much as another type of maple tree. The most common trees to tap are: Sugar, Black, Red, and Silver maples. I am not 100% sure what type of maple trees we have but they are either Norway maples or Red maples.
Sugar maples are the best to tap and they have a ratio of 40 gallons sap = 1 gallon of syrup. Yeah, don’t be expecting to get gallons and gallons of syrup from your front yard, but you can still get enough for several pancake breakfasts!
How to tap your tree:
I read somewhere that you should use a hand drill when drilling into your tree. We had one of these so we gave it a try, but it was very difficult. We ended up using an electric drill instead and as far as I know it hasn’t inhibited anything at all. Long story short, use whatever you have on hand.
The tree tapping kit I purchased came with a plastic tap(spile), so that is what we used. There are several different kinds of taps out there but, in the end choose whichever one you’d like. I don’t think the spile’s material makes a huge difference(maybe in durability).
Steps to placing the spile in the tree:

- Find a maple tree that is at the very least 12 inches in diameter.
- Do a quick scan of the tree to see if it has any diseases or insect problems
- Use a drill bit that corresponds with the size of your spile(usually 5/16″)
- Drill a 1.5″ hole angled slightly upwards to direct the sap downwards
- Take a mallet or hammer and tap the spile far enough in the tree so it doesn’t fall out.
What to use to collect the sap:
There are many different ways to collect sap. A lot of the larger syrup farms use tubing to bring the sap directly into their facility. However, you can also use collection containers.
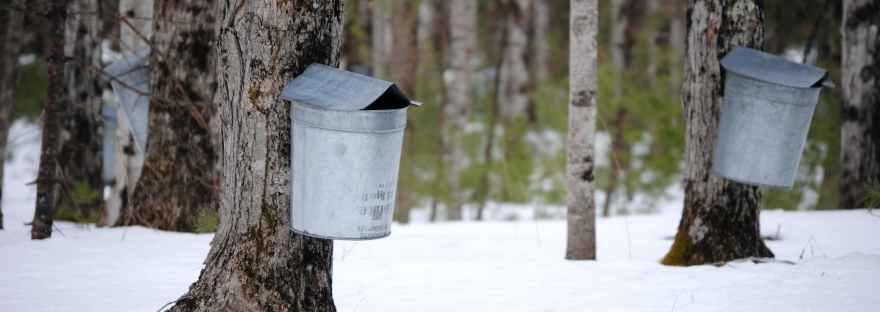
A lot of maple tree tappers will use food grade 5 gallon buckets with tubing attaching them to the tree. It looks something like this:

There are all sorts of interesting ways to attach a bucket to a tree, but there is still one more way to collect the sap.
We are using a sap sak! It is a plastic bag that is attached to our tree:
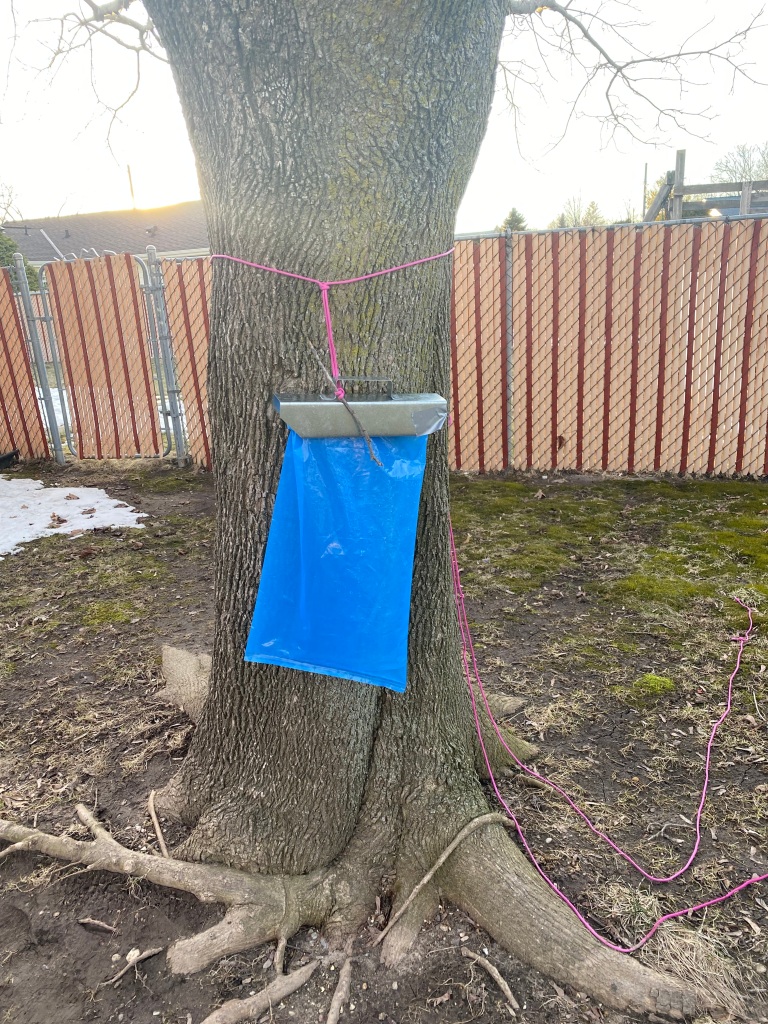
You are supposed to be able to just hook it onto the spile, but after ours kept falling off- we used rope, duck tape, and a stick. It hasn’t fallen off since!
So far, this collection method has been super easy. The bag can hold up to 4 gallons of sap, but we have been emptying it twice a day, so we haven’t tested that statement.
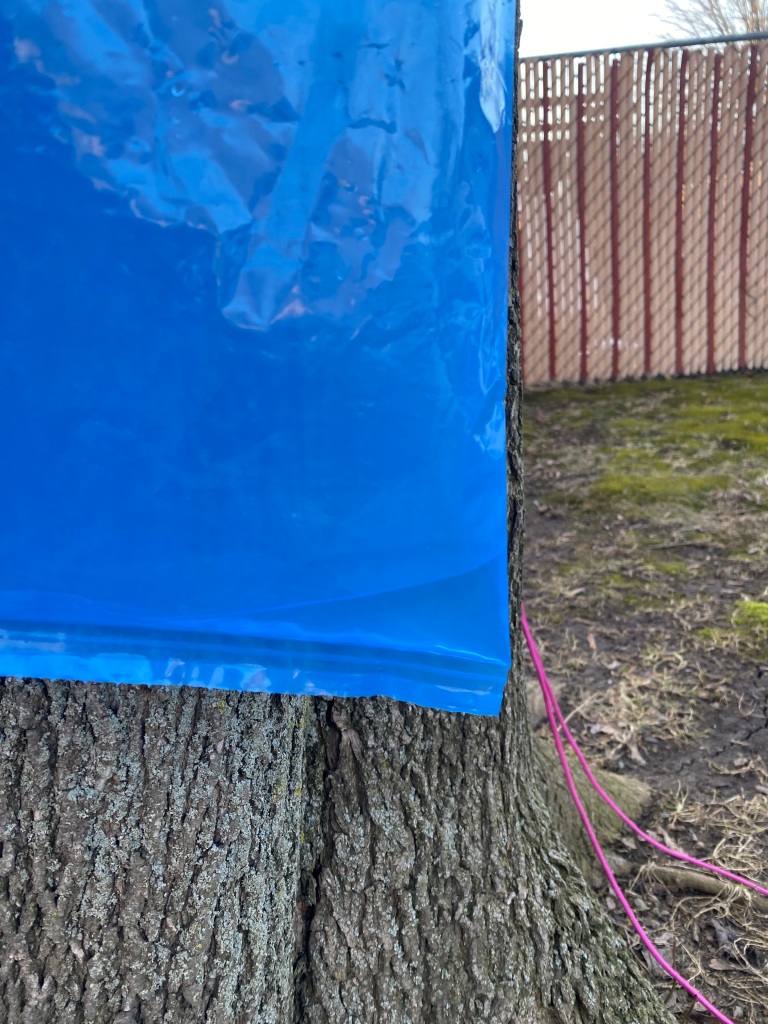
Here are some more pictures of our sap sak:

One thing that I have personally found very interesting is the fact that the sap looks exactly like water. It’s the same consistency as water, it looks like water, and when I tasted some… it pretty much tasted like water. I guess I just always thought that it would be a gooey golden substance, but the tree water is probably a lot easier to manage😄!
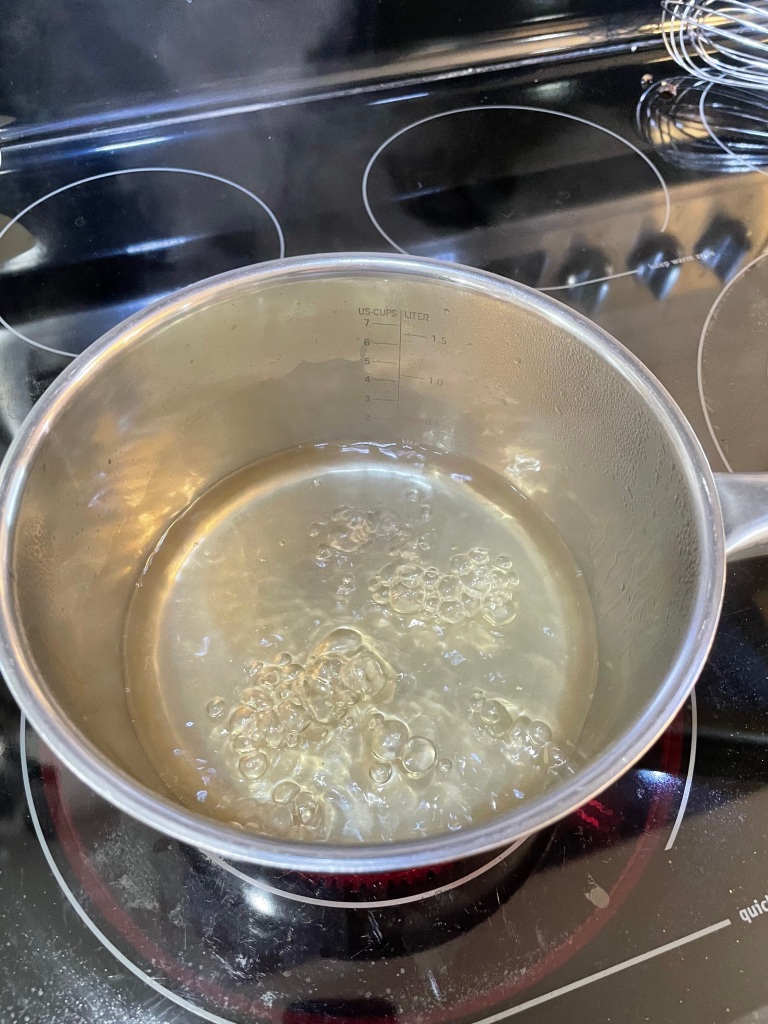
How to boil down the sap:
Once we acquired 1 gallon of sap we decided to start the process of boiling it down. It only took us about 2 hours to do it on our electric stove. Out of 1 gallon we got about 3 ounces. After doing the math; 42 gallons of the sap from our maple trees would give us 1 gallon of maple syrup. Hopefully, by the end of the season we will get at least a pint, maybe even a quart!
When boiling down the sap, only do a small amount at a time, and add more as it boils down.
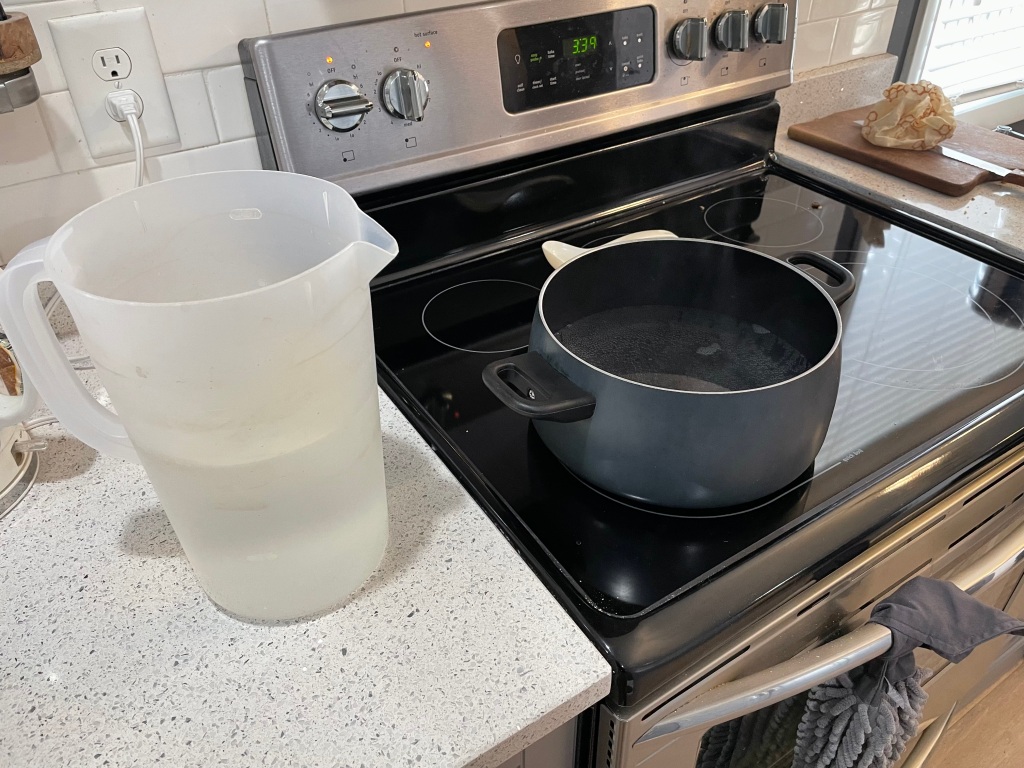
Start off on very low heat so you don’t burn the sap to your pan. Once it starts boiling you can gradually increase the heat.
After it is boiling, check on it every 5 minutes or so to make sure it doesn’t boil over and to add some more sap to it.
Once you get nearer to the end you should start to see a color change. Our syrup was very light, but you can still see the difference.
Right before the syrup is complete it will start foaming, unfortunately we didn’t get a picture of ours doing this but, here is kind of what it looks like:

Once it does this foaming you can take it off of the heat, and you are finished!
Here is what our syrup looked like:

It was still very liquidy, but SO sweet and delicious! It’s still blowing my mind that this sugary treat has been in our front yard all this time, and we are only trying it out now!
Anyways, I hope you enjoyed this blog post! I’ll do another blog post in a couple weeks at the end of the syrup season with an update on how the rest of the season went. Where I live(Eastern Wisconsin) our peak season lasts from March 15th-April 15th.
Thanks for reading and have a great rest of your day!

Yes
Great post! Your enthusiasm for maple tree tapping is contagious! Your step-by-step instructions are very helpful for someone who is interested in trying this out. It’s amazing how much effort goes into making a small amount of syrup, but the end result looks delicious!
Eamon
Live Free Offgrid
LikeLiked by 1 person
Thank you! I’m so glad that you enjoyed it😁
LikeLike